Reviewing & Approving Redactions
How to navigate the review panel, accept or reject individual findings, work through the finding list efficiently, and use batch approve to clear multiple entities at once.
The review panel overview
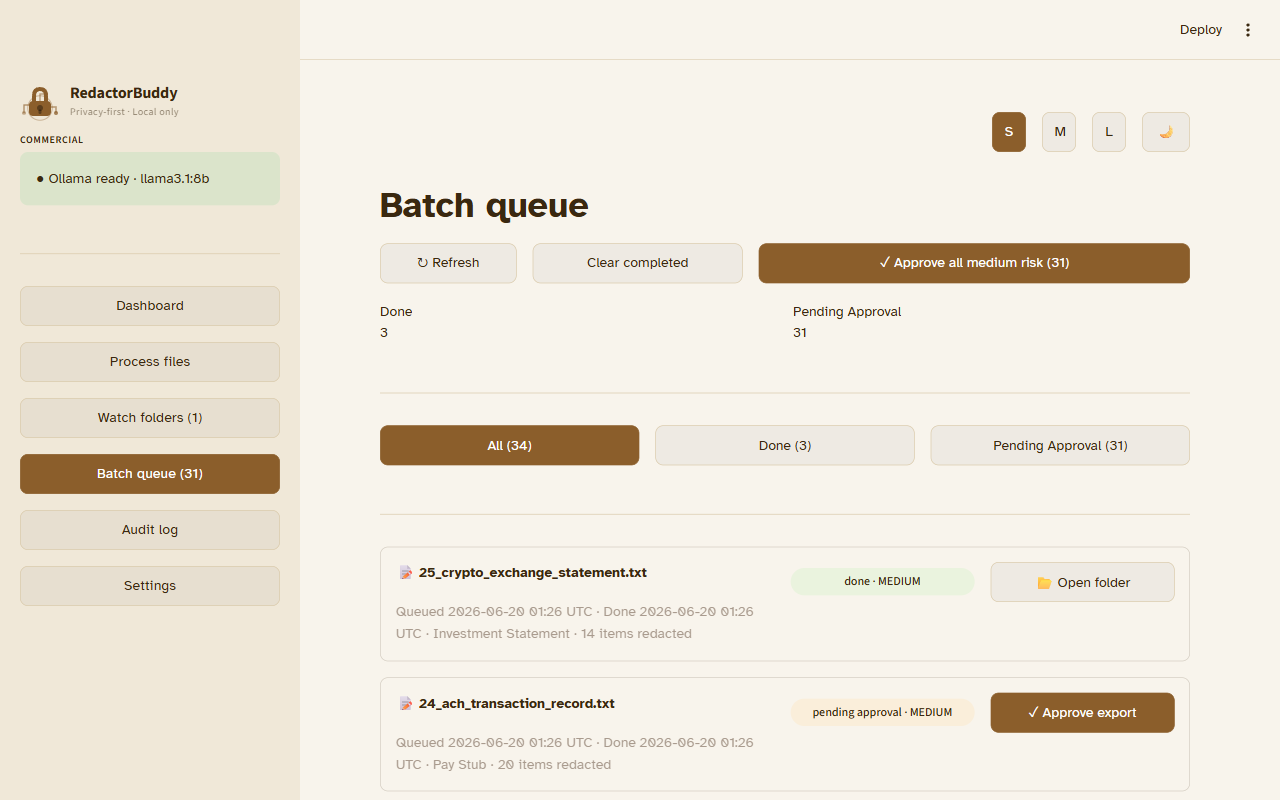
After detection completes, RedactorBuddy opens the review panel. This is where you make the final call on every detected entity before export. The panel has three main areas:
Panel anatomy
Accepting and rejecting findings
Each entity in the finding list has two action buttons. These are the core of the review workflow:
✓ Accept — Redact this
Confirms the entity is real PII and should be redacted. The entity is replaced with [REDACTED] in the output. Accepting a HIGH-risk finding counts toward clearing the export gate.
✕ Reject — False positive
Marks the detection as incorrect. The entity is kept in the output unchanged. Rejecting a HIGH-risk item also clears it from the export gate — you've reviewed it and decided it's not PII.
R
Navigating the finding list
The finding list is sorted by risk level and can be filtered using the tabs in the toolbar: All, High, Medium, Low, and Unreviewed. The Unreviewed tab is the fastest way to see what's left before you can export.
Clicking a highlight in the document
Clicking any highlighted entity in the document preview scrolls the sidebar to that finding and selects it. This is useful when you spot something in the document text that you want to review out of order.
Jump to finding in document
Clicking a row in the sidebar highlights and scrolls to that entity in the document preview on the left. Use this to see the entity in its original context — helpful for deciding whether a name is actually a person's name or a product name.
Batch approve
If you've reviewed a sample of the document and are confident the remaining MEDIUM or LOW entities are all genuine PII (or all false positives), use Batch approve to clear them in one action.
Open the batch action menu
Click the ⋯ More button in the toolbar to open the batch action menu. You'll see options to approve all unreviewed items, approve all by risk level, or reject all unreviewed items.
Choose a scope
Select the scope of the batch action — for example, Accept all MEDIUM unreviewed or Reject all LOW unreviewed. You can also select Accept all unreviewed to clear everything at once.
Confirm
A confirmation dialog shows how many entities will be affected. Click Confirm. The sidebar updates immediately and the export gate recalculates.
Understanding the export gate
The Download button in the toolbar shows the current gate status:
- Locked (red) — one or more HIGH-risk entities are unreviewed. The number in the badge tells you how many.
- Ready (green) — all HIGH-risk entities have been accepted or rejected. You can download now.
Clicking Download when the gate is open exports the redacted document immediately. The file is saved to your Downloads folder as redacted_[original-filename].[ext].
Reviewing efficiently — a workflow
For documents with many findings, this order works well:
- Switch to the High filter tab. Work through all HIGH findings using keyboard shortcuts (A to accept, R to reject).
- Switch to Medium. Scan for obvious false positives (e.g., "Apple" flagged as an organization) and reject them. Accept the rest.
- Check the Unreviewed tab is empty — if so, the gate opens.
- Optionally review LOW findings if the document has strict compliance requirements.
- Download.